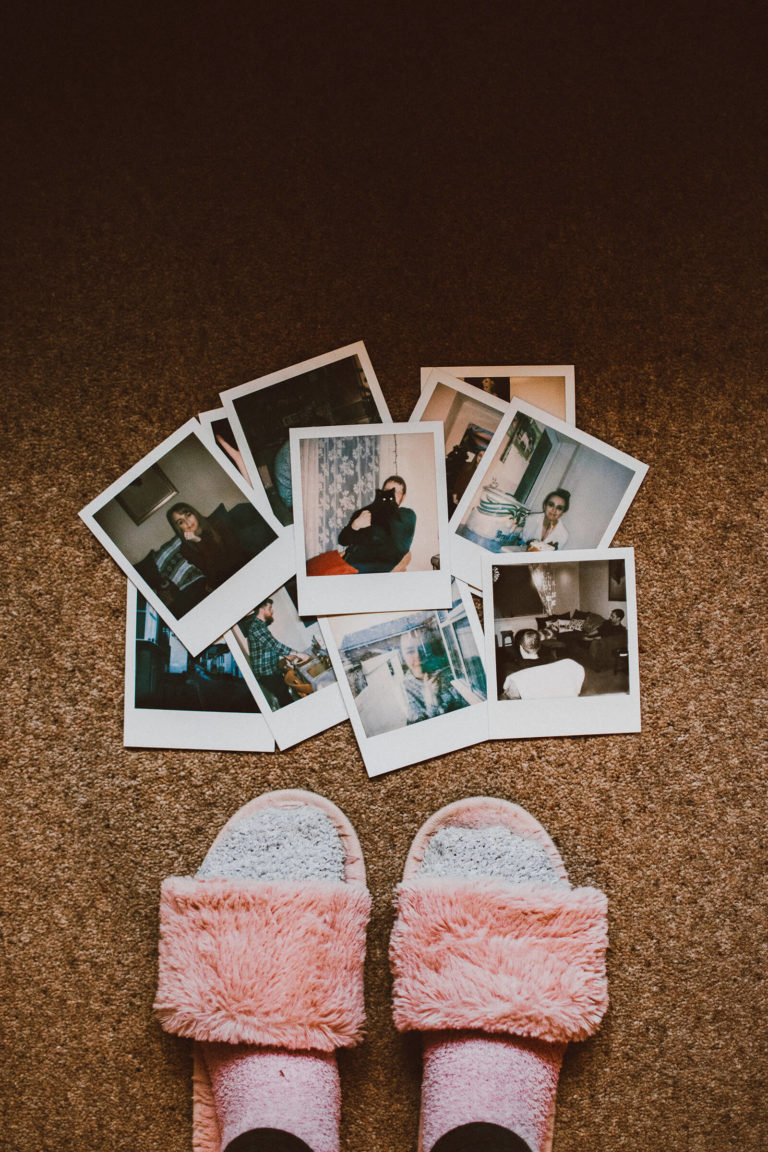
For example, one way is to scan and print or photocopy an original image onto clear acetate sheets. The image can be trimmed and then glued on to almost any surface with a clear drying glue. Yet another image transfer procedure uses a transfer liquid or solvent – a more complicated and messy method.
But DIY image transfer can be easy and relatively inexpensive, in a way that the kids will enjoy doing, by simply using a roll of clear packing tape and following the step-by-step instructions provided below. For kids, this method appears almost magical. There may be a problem stopping them from sticking their new decals on to a whole range of surfaces.
Supplies You will Need
- Image to be transferred (photocopy or laser-printed)
- Clear packing tape
- Scissors
- Ruler (optional)?
- Bowl of warm water
NOTE: Since most packing tape is only 2 inches wide, if the image for transfer is wider, additional pieces of tape will need to be added and must overlap. Be sure to press down firmly over the two edges that are overlapped. The overlap will not be noticeable once you have removed the paper.

How To Do It
- Trim the photocopied or laser-printed image.
- Place it face up on a flat working surface.
- Cut out a piece of packing tape slightly longer than the size of the image.
- Place the strip of tape across the part of the image to be transferred.
- Rub the tape down in both directions with your thumb or use the long edge of a ruler, eliminating any bumps and bubbles.
- Apply more strips of tape where desired overlapping each strip by 1/8 inches. Be sure to press firmly down the two overlapping edges. Repeat if necessary.
- Before soaking it, trim the picture by cutting carefully around the taped image.
- Soak the taped image paper-side down in a bowl of warm water for 5 minutes.
- When thoroughly soaked, vigorously rub the paper side of the image under running water in a circular motion with your thumbs to remove all the paper. NOTE: If no running water is available, rub the paper off into the bowl of warm water/
- Blot the image dry with a dry, clean tea towel to reveal the transferred image. Examine the back of the image to ensure that all the paper has been removed. If you notice some paper, rub it out under warm running tap water. Dry again.
- The tape will still be somewhat sticky, so you can directly apply it to any plastic, ceramic, metal, or vinyl surface. It can also be relatively easy to remove once the occasion or holiday is over. Save these transfers by sticking them on a sheet of wax paper to be reused when needed again.
- The transfer image can be adhered to paper or card stock but note that this makes the transfer permanent as it will not be possible to remove the image without damaging the paper surface.
Best Webshops for DIY
B & Q
- Delivery time: 1 days
- Delivery Cost: £ 5
- Return period: 135 days
- Free delivery from £50
GSF Car Parts
- Express Delivery Available
- Delivery time: 2-3 days
- Delivery Cost: £ 3.95
- Return period: 365 days
- Free delivery from £25
Tooled Up
- Express Delivery Available
- Delivery time: 1-3 days
- Return period: 14 days
Wickes
- Delivery Cost: £ 7.95
- Return period: 30 days
- Free delivery from £75
Direct Doors
- Delivery time: 2-3 days
- Return period: 7 days
- Free delivery !
Direct Stoves
- Express Delivery Available
- Return period: 14 days
- Free delivery !
Wilko.com
- Express Delivery Available
- Delivery time: 4-5 days
- Delivery Cost: £ 5
- Return period: 28 days
Trade Counter Direct
- Express Delivery Available
- Delivery time: 3-5 days
- Return period: 30 days
- Free delivery from £75
Bernards Door Furniture Direct
- Delivery time: 3 days
- Delivery Cost: £ 5.99
- Return period: 14 days
- Free delivery from £60
Machine Mart
- Delivery time: 3 days
- Return period: 14 days
Locks Online
- Express Delivery Available
- Delivery time: 5 days
- Delivery Cost: £ 4.95
- Return period: 14 days
- Free delivery from £100
Sparepartstore24 UK
- Delivery time: 4-5 days
- Delivery Cost: £ 8.45
- Return period: 14 days
- Free delivery from £150
Dulux Decorator Centre
- Express Delivery Available
- Free delivery from £70
Screwfix
- Delivery time: 1-2 days
- Delivery Cost: £ 5
- Return period: 30 days
- Free delivery from £50
B & Q Shutters
- Delivery time: 1 days
- Delivery Cost: £ 5
- Return period: 135 days
- Free delivery from £50
Travis Perkins
- Delivery time: 3-5 days
- Return period: 14 days
- Free delivery from £50
Direct Fireplaces
- Express Delivery Available
- Delivery time: 3-15 days
- Return period: 14 days
- Free delivery !
The Underfloor Heating Store
- Express Delivery Available
- Delivery time: 2-3 days
- Return period: 30 days
- Free delivery from £19.99
UK Tool Centre
- Express Delivery Available
- Delivery time: 3-5 days
- Delivery Cost: £ 3.79
- Free delivery from £75
Dulux
- Delivery time: 3-5 days
- Delivery Cost: £ 4.99
- Return period: 30 days
Colin Bradley Art Store
- Delivery time: 2-5 days
- Delivery Cost: £ 2.99
- Return period: 30 days
- Free delivery from £50

